The Anatomy of Custom Design: From the Mind’s Eye to a Hand-Crafted Masterpiece
Custom designs all begin in the mind of the beholder. Either they have an idea of what they want. Or they have pieces and want to build a treasure with what they have. Oftentimes it is both!
When I receive notice of someone wanting to make something very special, the first thing I do is listen to what they see in their mind’s eye. The second thing is to find out their preferred design style. Some people know without wavering their style choice; some think it is one style and are surprised that they are drawn to another type as we search through different styles. Once the design style is found, we build from there.
I work with five different computer-aided drawing artists. Each artist has strengths that I choose based on the project at hand. I supply the artist with the design style, rough drawn sketches, and the design basics such as size, metal type, and color. I also provide exact measurements of each stone as these are an integral part of the design.
As many CAD artists are in high demand within the jewelry field, we arrange the first call with the artist at their first availability. Depending on the artist and the season, there is sometimes a waitlist for the artist. Once the time comes, the artist and I discuss the job in detail and anxiously await as they put all the information that has been given into a computer-aided drawing.
The first drawing we receive typically has green representing wax that will be used in the casting process. If any changes need to be made in the design, it is done during this process. After the design is approved, the artist renders the custom piece using the desired metal color and stone color. This gives us a sneak peek at what the final piece will look like. It is always exciting to see the dream come to fruition via the render! Once we have the approval of the design, the wax is grown through the 3D printing process. The printing process can take 12-60 hours, depending on the detail and amount of metal used in the design.
The wax is then prepared to be invested in a material similar to plaster of paris in a metal casting container. The investment is heated over for several hours at a temperature that will cause the wax to melt out of the investment, leaving the impression of the wax that was invested. The metal containers are kept in the oven until the moment before the piece is to be cast. The metal is weighed, alloyed, and then melted immediately before casting. When the metal is at the melting point, it is cast into the hot investment, which catches the metal and forms the ring.
The investment is then removed from the metal to reveal the cast piece. It is checked carefully to make sure all details of the design are present. Once the inspection is over, the cleaning process begins. The sprue is removed from the ring as it is extra unneeded metal. Careful time and attention are given to cleaning up the ring to bring the beauty of the cast piece to show. The size is checked to make sure we have it right; if not, it will be sized accordingly.
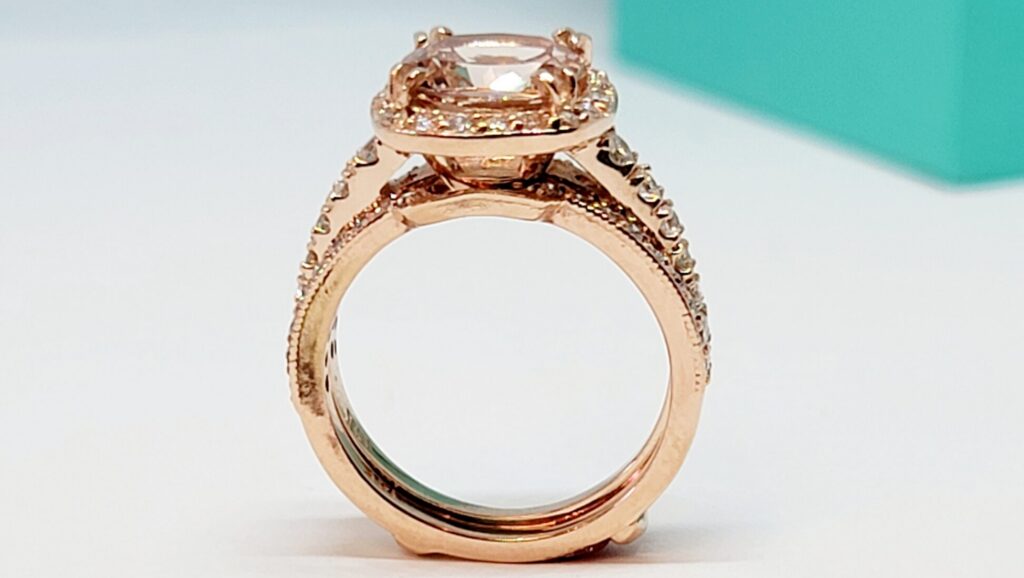
Finally, the ring is ready to be set with the stones! The stone setting rule is to set the outside stones first and then move inward. The stone setting process is not to be rushed. The stones must be level and match in color. If the customer’s original stones do not all match, they are matched side by side to minimize the color differences. Rings with lots of stones are seldom set all in the same day. Fresh eyes and a rested back always make stone setting quicker and easier.
I hope this has given you a little insight into the major steps that are taken to build a beautiful custom ring.