You’ve probably heard someone describe an old house as having “good bones.” This usually means that all those framing members — vertical studs, horizontal joists, and angled rafters — have withstood the test of time and are in generally good shape. This type of durability is often attributable to the high-quality, old-growth lumber that was used a century ago, as well as the craftsmanship of the original builder and carpenters.
While good bones can keep an old house going for decades, homeowners don’t always know what to do about the “guts” of the house — the components that are buried in between the finished interior wall surfaces and the exterior siding … or between ceilings and floors. These components make up the guts of the house and may not have aged as well as the framing.
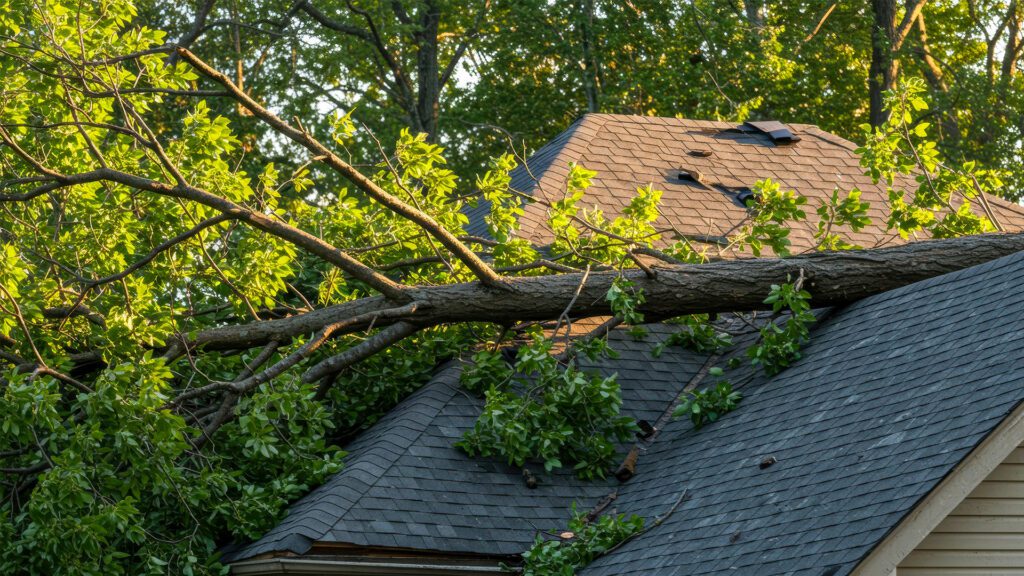
As remodelers, we’ve opened up more walls, ceilings, and floor systems than we can remember. These exploratory demolitions are where the surprises usually show up:
- broken floor joists under that old cast iron tub (no wonder the floor was a bit bouncy)
- old knob and tube electrical wiring still powering the lights and switches (yikes!)
- insulation that’s settled leaving a foot or more of uninsulated wall cavity (brrr!)
- or leaky window openings that have started to rot the framing (no bueno).
Homeowners are often hesitant to have remodelers demo parts of their houses because the more that’s removed the more expensive the project can seem. There are, however, potential hidden costs to being too frugal about how much of your house you leave undisturbed.
Worn out, broken framing is usually noticeable without having to demo anything — bouncy floors, cracks that keep showing up in the drywall, or low, sagging spots on your roof — are pretty good indicators that the bones of your house have a few fractures. But the most common problem we find is ceiling/floor systems where the plumbers or homeowners have put notches or holes through the joists that are too big for modern-day building codes. We’ve seen some floor joists where there’s only an inch or two keeping someone from falling through the floor. Hidden cost: repair work after you’ve finished your remodeling project.
The other common problem we see is that old houses usually only had 2×4 walls instead of the 2×6 walls we commonly use today. Even those old beefy studs with retro-fitted blown-in insulation might get you to an R value of 13-15, instead of the R-21 we can get in 2×6 walls. When we find old walls, we prefer to pack them out with 2”-3” furring strips to get more insulation in there. Or, if you can afford it, you can leave the studs alone and use spray foam to get up to about R-25. Hidden cost: hundreds of dollars in heating and cooling costs over the year that can surpass the cost of packing out your studs.
Lately, we’ve been working on some old houses that had plaster and lathe on the interior walls. The old plasterers were able to apply patterns and textures that add character to the house. This fading craft uses thin strips of wood nailed onto studs horizontally with small gaps between them. Then, the plasterer used a trowel to apply a thick coat of plaster over the lathe. The gaps allow the plaster to squeeze through, locking the plaster in place once it dries. Removing plaster and lathe is hard, dusty work that creates a lot of waste. But we usually recommend demoing it for a few reasons:
- You probably need to reinsulate the exterior walls anyway.
- The plumbers and electricians have to cut a lot of it out to update your wiring, water, and sewer lines, and it’s harder to make plaster repairs blend in.
- There just aren’t many skilled plasterers around anymore to patch and feather out all the holes you will have during a remodeling project.
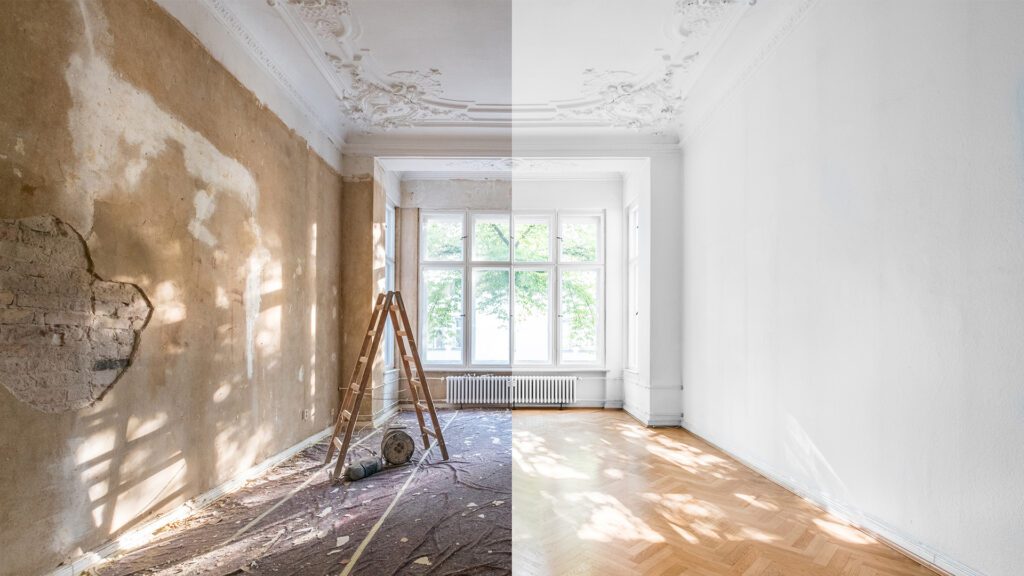
So, if your house has good bones, you are going to want good guts too. And that usually means gutting your interior walls down to bare studs. Start with a clean slate, and your old house will thank you with decades of good living for you, your kids, your grandkids, and great-grandkids.