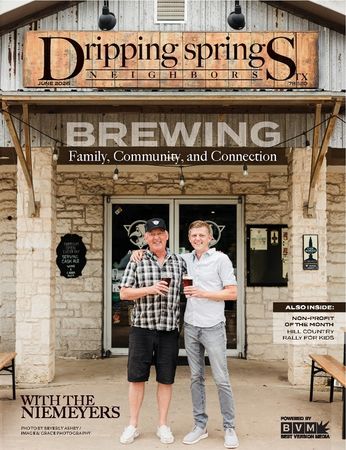
At Dripping Springs Automotive, we like to say, “We work here, live here, and give here.” That’s not just a slogan—it’s how we show up for our community year after year. One of my favorite traditions has been sponsoring and hosting the annual Cub Scout Pinewood Derby for Pack 280 for the past 11 years. Watching Scouts light up when their cars hit the track never gets old—and over the years, I’ve learned that building a fast Pinewood Derby car is both an art and a science.
Before you touch the block of wood, start with the most important step: read the rules. Many packs and districts add restrictions that go beyond the “Official BSA” rule set—things like wheel machining, axle modifications, or extended wheelbases. For this article, I’m sticking to a simple standard: use what comes in the box and focus on skill, precision, and good fundamentals.
1) Shape it for style (not speed).
A stationary belt sander and a Dremel tool are the best combo I’ve found for shaping. Keep perspective, though: aerodynamics play a very small role at derby speeds. Shape your car for pride and creativity—speed will come from what’s underneath.
2) Weight placement wins races.
If you take one tip from me, take this: weight placement matters most. Aim for a balance point about one inch in front of the rear axle. Recessing weights looks clean but doesn’t magically add speed—placement does. And always max out the total weight to exactly 5.0 ounces. At weigh-in, a little tungsten putty is a lifesaver for fine-tuning weight in just the right spot.
3) Prep the axles to reduce friction.
Kit axles are rough and have burrs that slow wheel speed. Chuck the axle into a power drill, carefully remove burrs with a fine metal file (don’t take off too much metal), then polish progressively: 400 grit, 1000, 2000, 3000, followed by steel wool and polishing compound. The goal is a smooth surface with minimal friction.
4) True the wheels.
Kit wheels are often rough and slightly out of round. A wheel lathe and hub shaper (commonly available online) help you true the tread and polish the hubs. Finish by spinning the wheel in a drill at low speed and smoothing the tread with 1000 and 2000 grit sandpaper. Then polish the inside bore with a pipe cleaner and polishing compound where the axle rides.
5) Install with intention: alignment and three-wheel contact.
Start with spin tests—wheels should spin smoothly with minimal wobble. Save the “worst” wheel for a front “rail guide” position, set slightly raised so it doesn’t touch the ground. Three wheels touching means less friction and more speed. Rear axles installed with a slight angle (around 2.5 degrees) can help stability and performance. On the front steering side, a gently bent axle (about 15–20 degrees) allows micro-adjustments so the car rolls straight for at least three feet.
6) Graphite—use plenty and work it in.
Apply graphite generously, then tap and spin each wheel to work it evenly into contact surfaces. Smooth lubrication is free speed.
Follow these steps and you’ll be set up for a car that can run under 3.8 seconds (conservatively), while still staying within typical rules.
If you have Pinewood Derby questions, want to learn more about Scouting USA, or need service on your daily driver, we’re here to help.
Dripping Springs Automotive
Local Family-owned & Operated
www.drippingspringsauto.com